Get a Free Estimate! Your Log Home's Exterior Is Losing the Fight | Hogwash Cleaning Solutions

Bringing Professional Services To Your Door

Your Log Home's Exterior Is Losing the Fight.

Your Log Home's Exterior is Losing the Fight

Grey wood. Black streaks. Peeling stain. Gaps between every log. Here is what those signs actually mean, and the complete process to reverse the damage.

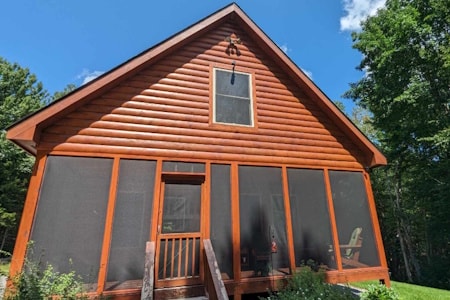
Every Adirondack log home tells a story with its exterior. The grey weathered wood, the black streaks running down between the logs, the stain that has started peeling away from the surface. These are not signs of a home that is aging gracefully. They are distress signals. And the longer they go unanswered, the more the story ends in rot, structural damage, and a restoration bill that is a lot heavier than it needed to be.

Why Log Home Exteriors Fail

Log home exteriors in Upstate New York face a level of punishment that most homeowners significantly underestimate. It is not just rain and snow. It is the specific combination of Adirondack weather patterns, seasonal extremes, and the natural biology of wood that makes exterior log maintenance a real and recurring need rather than a once-and-done project.

3–5
Years before exterior log stain needs recoating in Upstate NY
4"+
How much a two-story log home can settle in the first few years
48hrs
How fast mold growth can begin once wood stays wet

The Adirondack Climate is Relentless

Upstate New York winters are not gentle. Temperatures drop hard, stay low for months, and then swing back. That freeze-thaw cycling is one of the most destructive forces a log home exterior faces. Water finds any small opening, freezes, expands, and physically forces that opening wider. By spring, gaps that were hairlines in October are now visible cracks. Water that enters those gaps in spring snowmelt now has an easy path into the wall cavity.

Summers bring their own assault. UV radiation from the sun is the primary force that destroys exterior log finishes. The sun does not just fade the color. It breaks down the lignin that gives wood its structural integrity at the surface. Over two to three seasons of unprotected UV exposure, a log surface that should be golden and tight-grained becomes grey and fibrous, almost spongy at the surface, and completely unable to repel water effectively.

The Natural Biology of Wood Does Not Help

Wood is an organic material that was designed to cycle through moisture. Left without proper protection, it will absorb water in wet conditions and release it as conditions dry. Every one of those cycles expands and contracts the log, working joints open over time. It also creates the conditions that mold, algae, and wood-destroying fungi need to establish themselves. A log that has been allowed to stay wet for extended periods is not just discolored. It has been actively colonized by organisms that continue breaking down the wood structure as long as moisture and organic material are available.

"Grey wood is not a cosmetic problem. It means the lignin at the surface is actively decomposing. The clock is already running."

Hogwash Cleaning Solutions, Queensbury NY

The Warning Signs

Your log home exterior communicates clearly. Here is a translation of the four most common things it is trying to tell you, and what the urgency level actually is.

Act Within the Season
Grey or Silver Wood Surfaces

UV radiation has broken down the surface lignin. The wood can no longer repel water effectively. Each rain event is now absorbing directly into the log surface. Recoating without proper prep at this stage will trap moisture and cause the new coat to fail faster than the old one.

Act Within the Season
Black Streaking and Mold Growth

Biological organisms have established themselves on surfaces that are staying wet. Algae, mold, and mildew feed on organic material in the wood. Surface treatment alone does not eliminate them. The root system survives and regrows. Proper soft washing with the right chemistry is required to kill growth at the source.

Act Immediately
Peeling or Flaking Stain

The finish has failed and is no longer bonded to the wood surface. Water is now absorbing freely. Applying new stain over peeling old stain is the most common and most expensive mistake log home owners make. The surface must be fully stripped before anything new is applied or the new coat fails within one to two seasons.

Act Immediately
Soft, Spongy, or Punky Wood

This is early rot. Wood-destroying fungi have moved beyond the surface into the structural fiber of the log. This cannot be reversed with stain or sealant. Affected areas must be treated with a consolidant or physically removed and replaced before any restoration work can be completed over them.

What about gaps between the logs?

Visible gaps in your chinking or caulk lines are not a separate issue. They are an entry point. Every gap you can see is a direct path for water to enter your wall cavity. In Adirondack homes, gaps that opened over the winter need to be addressed before the first significant spring rain. A gap you can slide a credit card into is large enough to allow substantial water intrusion during a single storm.

The Myths That Cost Cabin Owners Thousands

There is a lot of bad advice floating around about log home maintenance. These are the myths we see causing the most damage to Upstate New York cabins.

Myth

I can pressure wash the exterior to remove the grey weathering and mold, then stain right over it.

Reality

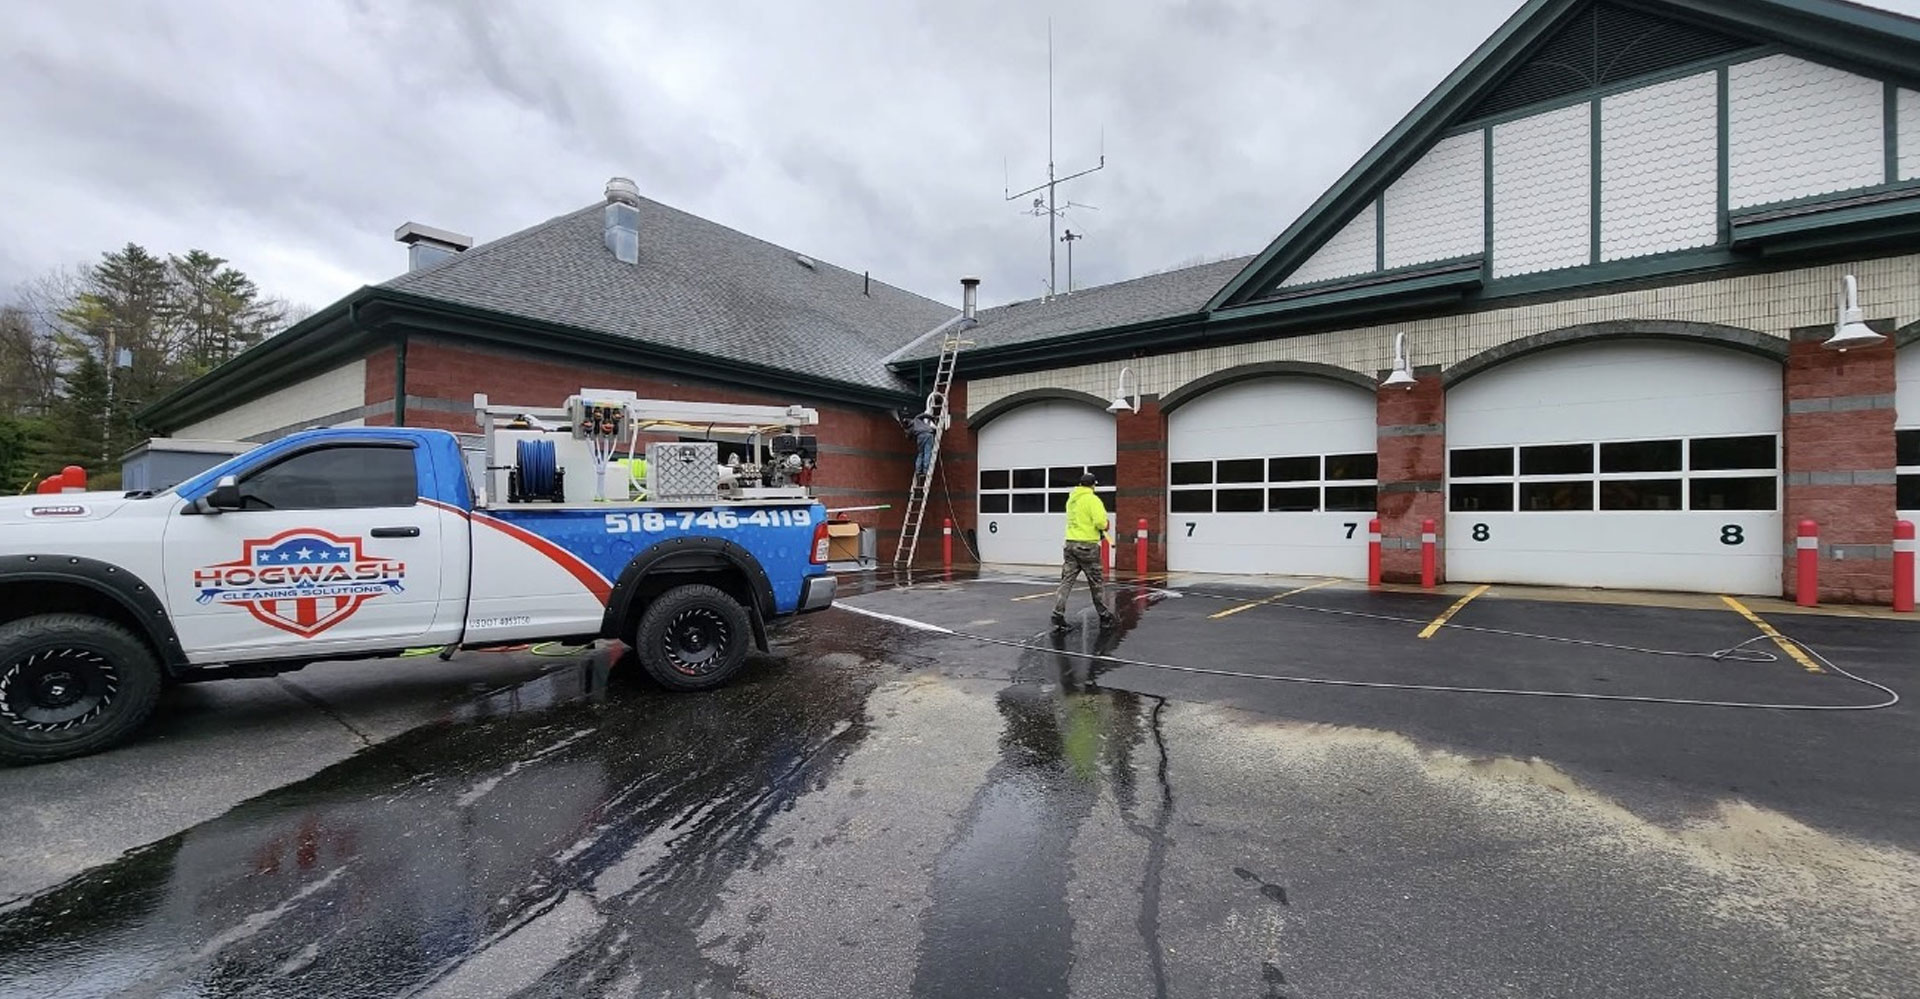
High-pressure washing drives water behind the wood surface and into checks, forces biological growth deeper into the grain instead of eliminating it, and physically damages log fibers. It also does not remove failing stain. Soft washing with the right chemistry followed by proper mechanical prep is the correct sequence.

Myth

I just need to apply a fresh coat of stain over the old one and it will seal everything back up.

Reality

Staining over a failing finish traps moisture between the layers, prevents proper adhesion, and causes the new coat to fail within one to two seasons. A full strip back to bare wood is required for the new finish to bond correctly and last as long as it should.

Myth

My cabin was sold as chink-free. It should not need chinking even after all these years.

Reality

Every log home settles. Every one. Logs shrink as they dry. Freeze-thaw cycling works joints open over time. A home that was genuinely tight on day one almost certainly needs full exterior chinking within 5 to 10 years. The joints are open. They are letting in water. The "chink-free" designation was a day-one reality, not a lifetime guarantee.

Myth

The grey color is just the natural aging of the wood. It still protects itself fine.

Reality

Grey wood means the surface lignin has been degraded by UV exposure. The wood is absorbing water freely, expanding and contracting with every weather cycle, and providing ideal conditions for mold and fungi to establish. It is not protecting itself. It is in the early stages of structural breakdown at the surface.


The Exterior Restoration Process

This is how we approach exterior log home restoration at Hogwash Cleaning Solutions. Every step matters. Skipping one compromises the result of all the others.

01

Full Assessment and Moisture Mapping

Before any equipment comes off the truck, we walk the full exterior. Every wall face, every corner, every log end and window surround. We use a moisture meter to map the moisture content of the log surfaces across the entire structure. Areas reading above 19 percent moisture are still actively wet and cannot receive stain until they dry. We document all chinking and caulk failures, all upward-facing checks, all flashings, and evaluate the current finish condition. This assessment determines the full scope of work and which prep methods are appropriate for your specific logs in their current state.

This is also where we identify any soft or punky wood that needs consolidant treatment or physical replacement before restoration can proceed. Staining over rotted wood does not fix it. It hides it while the rot continues underneath.

02

Soft Washing: Safe Surface Cleaning Done Right

The first step on the exterior is soft washing. We use low-pressure application of professional-grade cleaning chemistry that kills mold, algae, and mildew at the root rather than blasting the surface layer off. This distinction matters enormously. High-pressure washing removes what you can see. Soft washing eliminates the biological growth system so it does not grow back as quickly. The chemistry we use is appropriate for wood surfaces and safe for your landscaping, garden beds, and the surrounding environment.

Soft washing also lifts pollen, surface dirt, tannin deposits, and environmental contamination that would otherwise prevent proper stain adhesion. A clean, open-grain surface holds stain dramatically longer than one with even a thin layer of surface contamination.

03

Stripping and Media Blasting: Back to Bare Wood

Where the existing finish has failed, peeled, or is incompatible with the new product system, it must come off entirely. We use chemical strippers formulated specifically for log home finishes to lift the old coating, followed by media blasting where needed for complete removal and surface preparation.

Media blasting with corn cob or crushed walnut shell is the precision method for log restoration. It removes failing coatings and the grey weathered wood surface layer without gouging the log or damaging the underlying wood fiber. The result is a clean, open grain that accepts stain the way the wood did when it was new. This step is the single biggest factor in how long the new finish lasts. A properly blasted and prepped surface holds stain two to three times longer than one that was cleaned but not fully stripped.

04

Log Repair: Checks, Rot, and Structural Issues

After stripping, any log damage that was hidden under the old finish becomes fully visible. This is the time to address it. Upward-facing checks wider than a credit card thickness are sealed with flexible caulk to prevent them from collecting water. Soft or punky wood is treated with a penetrating consolidant that hardens the degraded fibers and stops active rot. Sections with significant structural deterioration are assessed for partial or full replacement.

Doing log repair work at this stage, after stripping and before any new finish is applied, gives every repair material the best possible substrate to bond to. Repairs done over existing stain never hold as well as repairs done to bare wood.

05

Chinking and Sealing the Full Wall System

This is the step that determines whether exterior moisture stays out of your wall system for the next decade. Every horizontal joint between log courses, every window and door perimeter, every penetration through the wall, every log end at corners and gable ends. All of it gets chinked or caulked with appropriate product for the specific application.

Chinking is applied with proper backer rod backing to create a two-point bond that allows the joint to flex through Adirondack seasonal expansion and contraction without cracking or separating. A properly applied chink line has a slight concave profile that sheds water rather than collecting it. This is detail work that takes time but is the structural foundation of a restoration that actually holds up through multiple winters.

06

Stain Application: The Finishing Layer

With the surface fully prepped, stripped, repaired, and sealed, two coats of exterior log home stain go on. Product selection is based on your log species, the finish history, and the specific exposure conditions on your walls. South- and west-facing walls in Upstate New York take significantly more UV punishment than north-facing walls and may require a product with stronger UV inhibitors.

We apply stain using professional airless sprayer equipment to drive product into the open grain quickly and evenly, followed by back-brushing to ensure complete penetration and a consistent film. Stain is applied only to wood confirmed below 19 percent moisture content. Staining wet wood is one of the most common causes of early finish failure and is completely preventable with a moisture meter and patience.

When to Do Exterior Work in Upstate New York

Season Conditions What Works What to Avoid
Early Spring (Apr–May) Cool, variable, wood drying from winter saturation Assessment, soft washing, chinking repairs, stripping Stain application until moisture levels drop below 19%
Late Spring (May–Jun) Warming temps, lower humidity, good drying conditions Full restoration projects, stain application, media blasting Working in direct rain or within 24 hours of rainfall
Summer (Jun–Aug) Warm, often humid, peak UV exposure Staining early morning or evening, chinking in shade Applying stain in direct afternoon sun or temperatures above 90°F
Early Fall (Sep–Oct) Excellent for log work. Cooler temps, lower humidity, good curing conditions Full restoration projects. Ideal staining window for Upstate NY Waiting past mid-October in the Adirondacks
Late Fall / Winter Freezing temperatures, snow and ice, wet wood Planning, assessment from inside, scheduling spring work Any exterior stain, chinking, or caulk application
The Window Is Shorter Than You Think

In the Adirondack region, the practical exterior restoration season runs roughly mid-May through mid-October. That is five months, and many of those days involve rain, extreme heat, or humidity conditions that make stain application inadvisable. Book early. The best contractors fill their schedules fast and the late-season rush is real.


How to Make the Results Last

A full exterior restoration is a significant investment. These habits protect it.

  • Do the water bead test every spring. Spray water on the log surface. It should bead and roll off within seconds. If it absorbs into the wood instead, the hydrophobic properties of the finish are depleted and recoating time is approaching. Do not wait for visible finish failure before acting.
  • Walk the chinking lines every spring after the freeze-thaw season. Look for any cracks, separations, or voids. A small repair done in May costs a fraction of the interior restoration that same gap will require by October if left alone through a summer of rain.
  • Keep gutters clean and draining away from the log wall. Overflowing gutters are one of the most overlooked sources of log saturation. Lower log courses that stay perpetually wet are the first to show rot and the first to stain interior surfaces.
  • Trim vegetation back from the log walls. Shrubs, vines, and branches that contact the log surface hold moisture against the wood and prevent it from drying between weather events. They also provide a direct highway for insects into the logs.
  • Check downspouts and grading at the foundation. Ground that slopes toward the home allows water to pool against lower log courses. The fix is often simple regrading but the damage from years of wet lower logs is not.
  • Plan for recoating every 3 to 5 years on high-exposure walls. South and west walls in Upstate New York take more UV punishment than other exposures. Maintenance coats applied before visible failure cost significantly less than full stripping and restoration projects driven by finish that has already peeled.

Get Your Free Exterior Assessment

We serve the Adirondacks and Upstate New York. Tell us about your cabin and we will schedule a full moisture mapping and exterior evaluation at no charge.

Request a Free Assessment

What Your Neighbors Are Saying

I had a great experience with Hogwash Cleaning Solutions LLC! The team was professional, on time, and did an excellent job. Highly recommend their services and will definitely use them again!

Lauren T.

Such a smooth experience from start to finish. The team was friendly, efficient, and got the job done right. Would absolutely use this service again!

Steve P.

Great service from Hogwash Cleaning Solutions LLC! On time, professional, and did a fantastic job. Highly recommend!

Ryan E.
Read More Reviews
CTA Background

Restore Your Property Today Start Your Pressure Washing Project in Queensbury, NY!